This is part of a series of articles on online tools that can be used by event organisers and P&C Committees. I use all these tools myself, and this is based on my personal experience using the site.
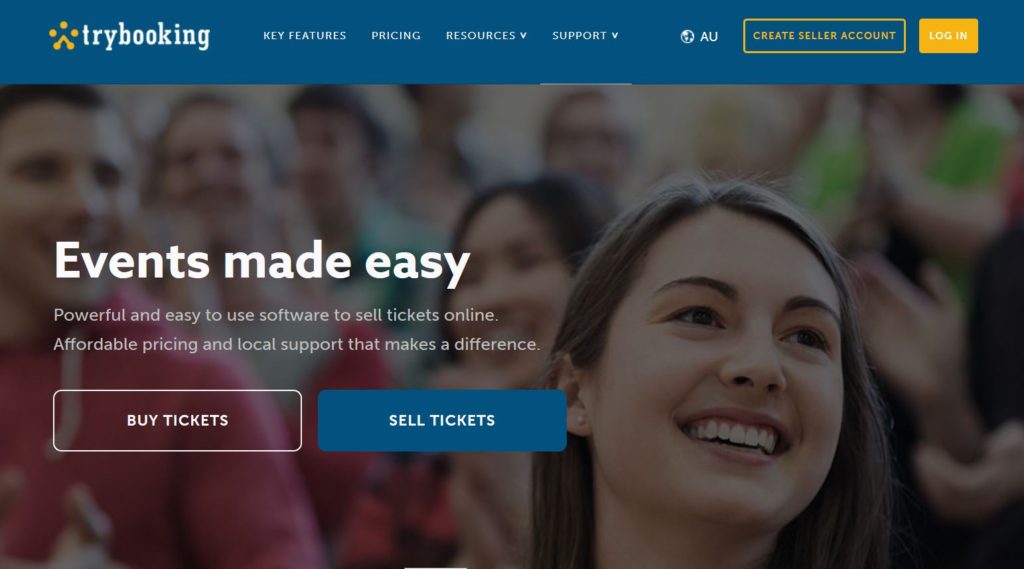
TryBooking is an online ticketing platform which makes it possible to accept registrations and sell tickets for your next event. There are many features, and this is just a simple overview for beginners.
People can purchase tickets online (or via their mobile) and they will immediately be sent an email with their ticket. They can choose to print these at home or show them on their phone (Gatekeeper scanners can be hired and used to scan tickets on entry. Click here for more information).
What can TryBooking be used for
- Selling tickets to a disco, quiz night, fun run or charity high tea.
- Selling tickets to a show or sit-down dinner where customers can choose their own seat.
- Allocating tickets to a free talk, book launch or demonstration.
- If you are a little creative with your ‘ticket’ types, you can even use it to sell merchandise, such as fundraising tea-towels or bags.
How much does Trybooking cost
If your event is free, there are no charges.
However, for paid events there is a standard 2.5% processing charge, which includes GST. This money is taken out by TryBooking at the conclusion of your event when you request the money be transferred to your nominated back account.
Buyers are also charged a 50 cent fee per ticket.
You can elect to pass on processing fee to your customers if you choose. There’s no magic ‘tick box’ for this, you just need to increase the ticket price to cover the extra costs (although it makes sense to round up or down a little so the price per ticket doesn’t look too strange). Keep in mind that if you increase the ticket price to effectively pass on the costs to customers, you are also increasing the amount you ultimately pay in fees.
If you chose to pass on all costs to buyers for a $10 ticket – they would end up being charged $10 + 50c booking fee + 25c processing fee = $10.75
A $25 ticket would become $25 + 50c + 63c = $26.13
How does TryBooking work
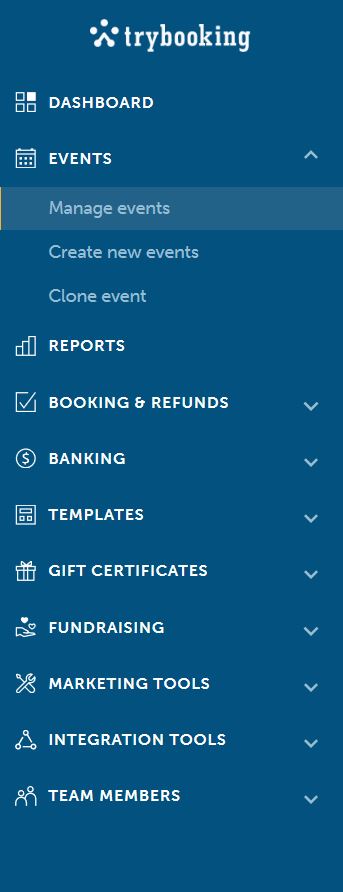
Setting up an event takes around 15 minutes. From your dashboard you have the option of creating a new event, and managing existing events.
- Click on Create New Event. You will be asked to give it a name, such as ‘Mount Henry High School Quiz Night’, provide the contact details of the organiser, and then give a 500 character description.
- Venue – add in the details of your venue and decide if you want a map to be shown on your booking page.
- Session Times – set your time zone and then add the times of the first session (which is great if you are running junior and senior discos on the same night, but at different times). You add in the extra sessions later. You will also be asked when you want your booking window to open and close. Unless it’s going to affect catering or something like that, it’s advisable to leave the window open as long as possible, as people (especially school families) can be relied upon to leave booking to the last minute.
- Ticket pricing – you can elect to have ‘free’ tickets or charge for tickets. You can nominate the type of ticket (such as Adult & Child or Junior Disco & Senior Disco, or even ‘Family’) adding a description and the cost of the tickets. Note, you can create a ‘hidden’ ticket, which may be offered at a considerable discount and is only available via the dashboard. This might be for committee members or VIPs.
- You will be given two unique links you can then share with people, and which will take them directly to your event page.
- At this point you can further customise your event page through the dashboard, uploading images, changing the design of your home page (including adding more text if the 500 character description wasn’t long enough) and customising the tickets that customers receive, including adding T&Cs.
Other features of TryBooking
Data Collection: It’s up to you what sort of information you want to collect from buyers, and while data is automatically collected during the booking process, it is not automatically provided to you. Any extra information collected adds time and complexity to the booking process, so only ask for essential information; but this is helpful if you want to find out about dietary preferences, whether they are first time or repeat customers (there is a yes/no option) or if it’s essential you know which year/class your students are in at a school quiz night.
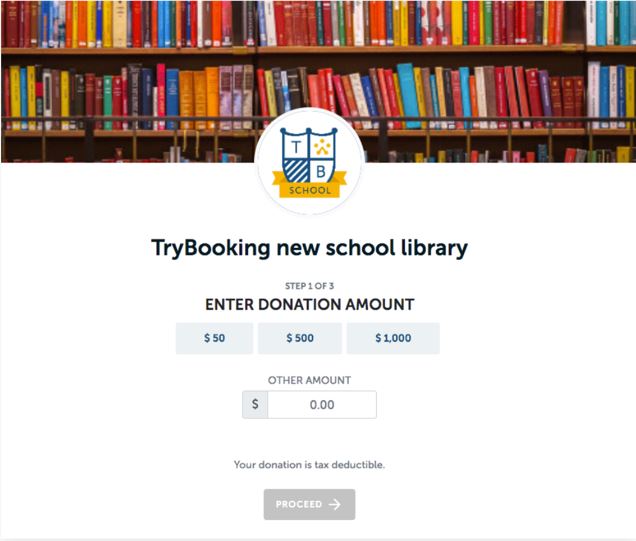
Collecting donations: TryBooking allows you ask for donations during the booking process. The request will appear only after the customer has selected their ticket, so they have already committed to your cause. You can add an image and some text explaining why you’re asking for donations. You can choose to specify donation amounts (ie $1, $5, $10) or leave it up to the donor.
Refunds: it is simple to process refunds on the site. However purchasers will not be refunded the 50c booking fee.
Door lists: there are a number of options of printing door lists for your event, which is an alternative to people printing their tickets at home. Keep in mind that you are a school or sporting club, sometimes parents book tickets in their own name and sometimes in the child’s name, or they may book multiple tickets which can be confusing for a doorlist. Simply make sure you include ‘attendee name’ in the data collected.
How do you get paid
You can only add in the details of your bank account once you have sales for your event, and only people with administrator level access to your Trybooking account can perform banking functions. It may take a few days to verify your bank account, which involves two separate amounts under $1 being deposited into your account.
You need to verify the bank accounts by entering the amounts of these deposits via your dashboard. Once set up, the banking function can be locked to prevent unintended changes. That means you can share the login details with others, so they can create and manage events, but only the account administrator is able to request funds.
Things to note
If you run the same event each year, you don’t need to create a new Trybooking page from scratch, you can simply ‘clone’ an event, and it replicates the information to the new event (which you can then update and alter as required).
You can choose to have a waitlist option if you think your event will book out.
You can choose to make your event public (and searchable through the Trybooking site) or private, and only accessible to people who have been given the unique link.
There are a number of TryBooking widgets you can add to your website to enable people to make bookings directly from your site.
If your event will have theatre style seating (ie you want to sell specific seats in an auditorium for a stage show), you will need to create a Venue Template before you create your event. Click here for more information.
Find TryBooking here: https://www.trybooking.com/


